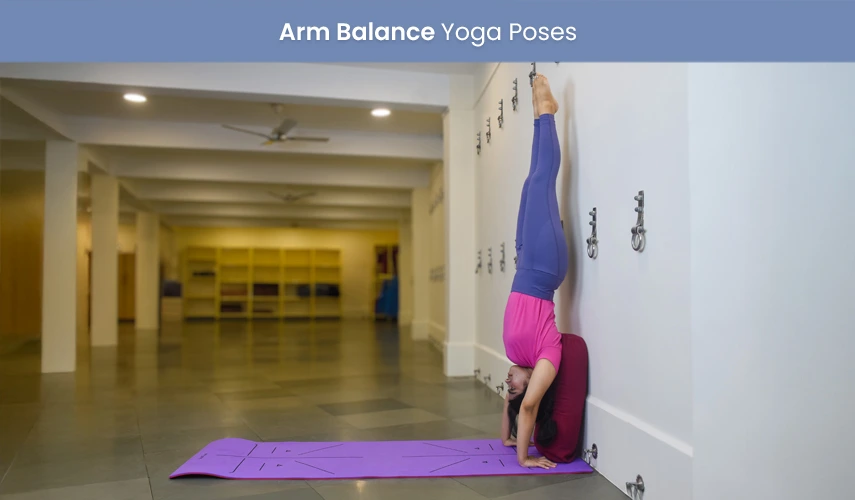
Arm balance yoga poses are powerful asanas that require a combination of strength, balance, and focus. These poses challenge both the body and mind, as they involve lifting and holding body weight in unique ways. Practicing arm balances helps develop core strength, improves stability, and enhances overall posture. Beyond the physical benefits, these poses also promote mental clarity, self-awareness, and concentration. With consistent practice, arm balances can boost flexibility, endurance, and mindfulness, making them a valuable addition to any yoga routine.
Advantages of Arm Balance Yoga Poses
- Develops Core Strength: All arm balances require the use of the core muscles; developing abdominal core strength will aid the stabilization of the body.
- Improves Flexibility: Many of the arm balance poses will challenge you for a better stretch undergone to the hips, wrists, and shoulders during the holding process.
- Increases Mental Focus: The ability to hold arm balances challenges your concentration and brings that wonderful mindful state to each class.
- Boosts Self-Confidence: When you finally master it, this boosts your self-worth and trust, for it does prove that indeed you have patience and dedication.
- Enhances Balance and Coordination: These poses develop your awareness of balance and space; this is much required in whole-body coordination.
- Involves Upper Body Strength: During arm balance poses, your biceps, triceps, shoulders, and chest are engaged, thus improving upper body strength.
Arm Balance Yoga Poses
1. Adho Mukho Svanasana (Downward-Facing Dog Pose)
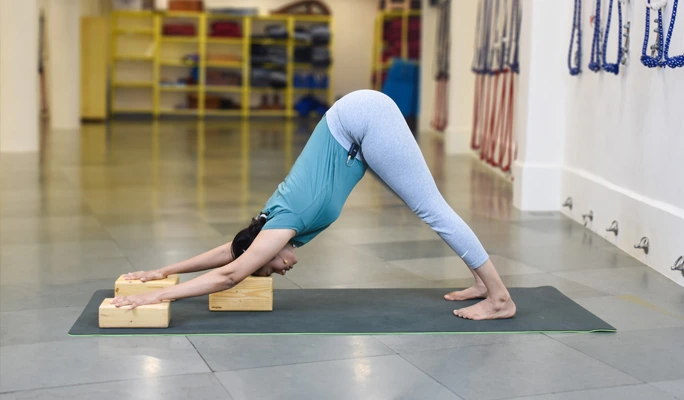
Steps:
- Begin in a tabletop position with hands under shoulders and knees under hips.
- Take a yoga block, keep your palms on it for support, tuck your toes, and lift your hips toward the ceiling.
- Try to keep your legs straight while keeping a slight bend in the knees if needed.
- Place yoga block below your head for the support.
- Gently press your heels toward the mat without forcing them.
- Keep your arms straight, shoulders away from ears, and engage your core.
- Stay for a few breaths, keeping a steady and even inhale-exhale.
- Lower your knees back to the mat to exit the pose.
Benefits: Engages shoulders, arms, and wrists. Lengthens the back, improving flexibility. Encourages fresh blood flow to the brain.
2. Adho Mukha Vrksasana (Handstand)
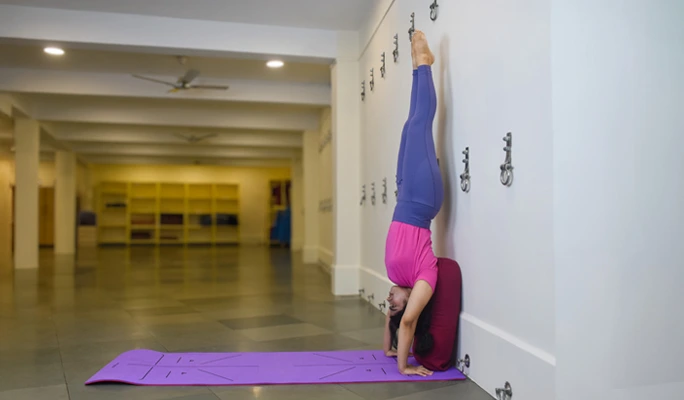
Steps:
- Place your hands shoulder-width apart, fingers spread wide.
- Bring one foot closer to your hands for a strong base.
- Press firmly into your hands and activate your core.
- Lift one leg first, then use momentum to kick the other up.
- You can keep a Bolster against the wall and take it for support.
- Align your body, engage your legs, and point your toes.
- Stay steady, focusing on control and breathing.
- Lower one leg at a time back to the ground.
Benefits: Builds strong shoulders, arms, and wrists. Engages deep core muscles for balance. Trains body awareness and control. Encourages blood flow to the brain, improving focus.
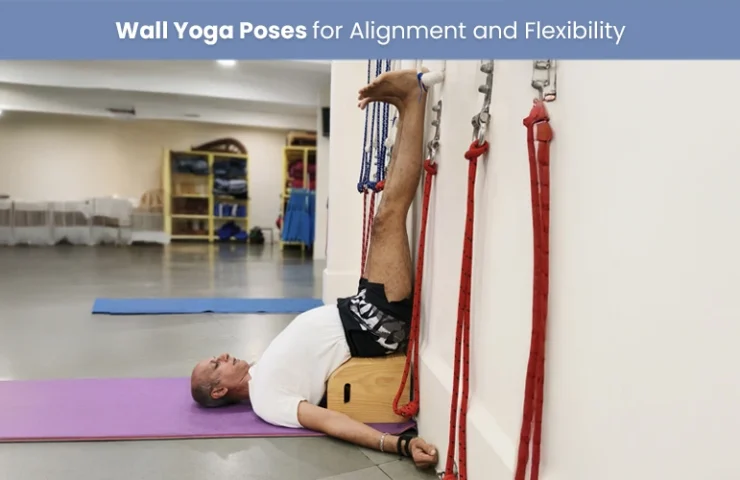
3. Sirsasana (Headstand)
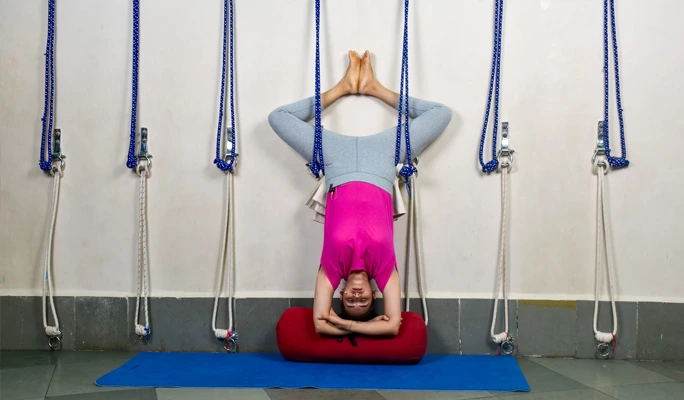
Steps:
- Stand with your chest facing the wall, place a yoga mat and the bolster adjacent to the wall. Ensure the ropes are secure.
- Place hips between the ropes. Engage your core, let the ropes support your pelvis, and then raise your legs up to the wall.
- Climb the wall slowly and then bend your knees & get into Bandhakonasana while bending backwards.
- After bending backwards, interlock fingers, rest the crown of your head on the bolster, and place forearms on the mat.
- Engage your core, let the ropes support your pelvis, and raise your legs into position.
- Stay stable, keep elbows shoulder-width, and relax for 30 seconds to a few minutes.
- Lower legs carefully and rest in Balasana for a few minutes until stable.
Benefits: Strengthens the arms, wrists, and core, improves balance and coordination.
4. Purvottanasana (Upward Plank Pose)
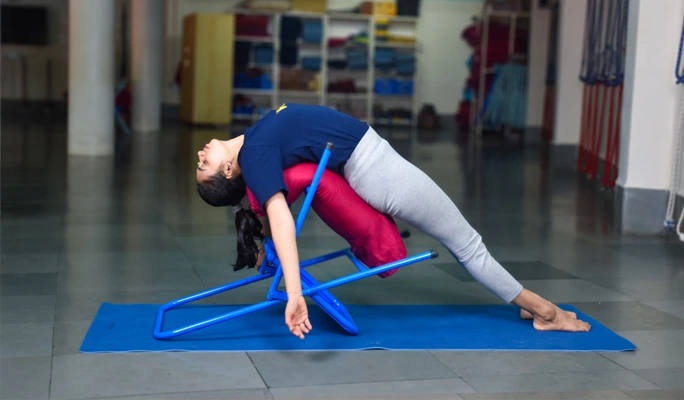
Steps:
- Place your yoga chair in inverted position as shown in picture.
- Place the yoga bolster on the Iyengar Yoga Chair.
- Lie on the bolster keeping your hands away from the chair.
- Engage your core and press your heels into the mat.
- Raise your hips toward the ceiling, forming a straight line from head to toes.
- Keep your arms straight, chest open, and legs active.
- Maintain the pose for a few breaths, keeping your gaze slightly upward.
- Lower your hips back down with control.
Benefits: Strengthens arms, wrists, legs, and core, stretches shoulders, chest, and front body, improves posture and spinal flexibility. Boosts energy and combats fatigue. Enhances balance and body awareness.
5. Pincha Mayurasana (Feathered Peacock Pose)
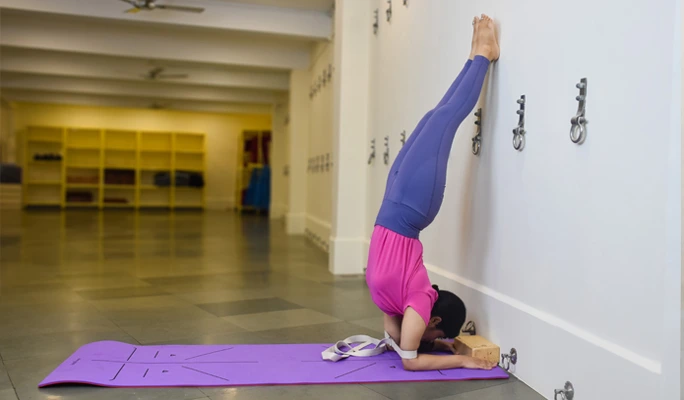
Steps:
- Place your yoga mat perpendicular to the wall for cushioning.
- Place your yoga strap around your arms. It will helps maintain proper elbow alignment.
- Place a block adjacent to the wall for head support
- Place your forearms shoulder-width apart on the mat, fingers spread wide.
- Lift your hips and step your feet closer to shift weight onto your arms.
- Push off with one foot, engaging your core, and bring both feet to the wall.
- Keep your legs straight, toes pointed and engage your shoulders and core.
- Stay steady for a few breaths, keeping your gaze forward.
- Slowly lower one leg at a time back to the ground.
Benefits: Strengthens shoulders, arms, and core. Improves balance and body awareness. Enhances focus and concentration. Opens the chest and improves posture. Builds confidence and mental resilience.
Common Mistakes in Arm Balance Yoga Asanas and How to Fix Them
- Not integrating the core: The most common mistake is forgetting to integrate the core while maintaining the balance. There are misalignments in the wrist and shoulder. If alignment is out of place, it puts extra strain on the body. Make sure that your wrists are stacked directly under your shoulders and spread your fingers widely for stability.
- Not using the legs much: Most beginners depend on their arms wholly for balance. Remember, your legs work to help you balance, mitigate loads from the arms, and build muscle strength too.
- Tension in the neck: While performing arm balance yoga poses, it is important to keep the neck relaxed and neutral. Remember to gaze ahead with a long neck undistracted by any strain.
Conclusion
Arm balance yoga poses are on the challenging end of the spectrum, but they are quite rewarding with a handful of physical and mental benefits. When practiced regularly, you may gradually notice an increase in your strength, focus and balance. Though arm balances seem intimidating at times, with some patience and correct form, they become an assuring and delightful part of your yoga journey.
0 Comments for “Arm Balance Yoga Poses: A Guide to Strength and Control”